Last Updated on December 26, 2022
A GIF file just auctioned for a whopping $600,000! If that comes as a shock, then you may want to reconsider your ideology of art and begin exploring the world of crypto and NFTs.
Non-fungible tokens, popularly known as NFTs are the future of art, digitals, and crypto.
Even though they haven’t been around for very long, some have already sold for millions of dollars.
Thus, it comes as no surprise why everyone wants a piece of what NFT has to offer.
Even if you have no experience creating your own NFTs, you could still cash in on the multimillion-dollar market.
In this article, we’ll be taking you through various methods of creating NFT art without having prior design or coding skills. Without further ado, let’s get into it.
How to Make Your Own NFTs?
Creating your own NFT is a rather simple process. Let’s get started on everything you’ll need to make NFT art:
- Creating an artwork
- Choosing the right blockchain
- Buying Ether, Setting Up a Crypto Wallet
- Choosing the right Marketplace
- Minting your NFT
- Listing your NFT for sale
- Promoting your NFT
Step 1: Creating an artwork
The very first step is to select/ create an artwork. NFTs are represented by any digital file; Digital paintings, GIFs, texts, music, and videos can all be converted into NFTs. Literally, anything that can be reproduced as a multimedia file.
But what if you lack the design skills to bring the artwork to life? Not to worry, you can simply hire an artist to develop the digital art piece and then hand over full ownership to you as the creator.
Where to commission an NFT artist?
Sites like Deviant Art, Twitter, and Reddit are often recommended. Those are all valid alternatives, but in my opinion, Fiverr is the ideal platform for commissioning any type of artwork.
If you haven’t heard of Fiverr, it is the world’s largest marketplace for digital services, where creatives of all kinds offer their services for as low as $5. Offering an escrow service to ensure the safety of your funds until you are 100% satisfied with the service you received.
Other features are also included to assist buyers in getting what they want while staying within their budget. So, yeah,
If you don’t want to go through the hassle of comparing and contrasting thousands of artists to find the right one for your project, take a look at our list of the best NFT artists for hire.
Step 2: Choosing the right blockchain
After creating your digital asset, you’ll need to select a blockchain to issue the NTFs.
NFTs can be created on a variety of blockchains, however, Ethereum remains the most popular blockchain for NFT issuance, with the majority of prominent NFT marketplaces supporting it. – naturally, if you’re learning to create NFTs you’ll be dealing with Ethereum quite a lot.
Step 3: Buying Ether, Setting Up a Crypto Wallet
In order to mint your NFTs on the majority of NFT marketplaces, you must pay a little “gas fee.” These are the fees paid to miners to process and validate transactions on the blockchain.
Minting an NFT could be costly. Therefore, you will need a crypto wallet with some Ether (Ethereum based coin) on it.
Crypto wallet serves as storage for your NFTs and cryptocurrencies. They’re tons of crypto wallets to choose from, but one thing to consider is whether the wallet is compatible with your NFTs and the marketplace you’ll be using to trade your NFTs.
Some of the most popular wallets are MetaMask, Trust Wallet, Enjin, and Coinbase wallet.
Regarding exchanges, I highly recommend you use Coinbase or Metamask. Since, they’re one of the world’s most popular cryptocurrency trading platforms, allowing users to buy, sell, and trade cryptocurrency with ease.
Step 4: Choosing the right marketplace
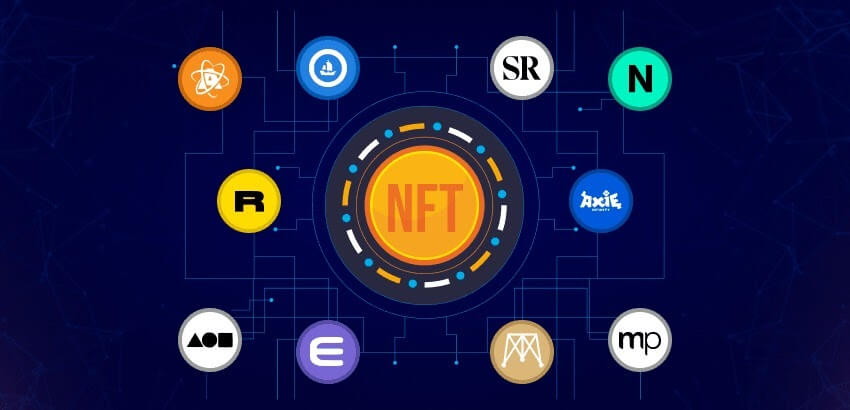
Now that you have your NFT art and crypto wallet ready, it’s time to mint and put it up for sale. For this, you need an NFT marketplace that supports the blockchain of your choice
With the right market, you will not only be able to narrow down your audience, but also streamline the NFT creation process.
This peer-to-peer marketplace has two categories from which to choose:
- Curated Platforms:
This category allows only authorized artists to mint or create digital art tokens. They are mainly focused on high-quality digital art tokens, not just simple and low-quality collectibles.
SuperRare, for example, is a curated NFT marketplace. They charge greater transaction costs and offer less flexibility in terms of the royalty percentage that can be programmed into your artwork.
- Self-Service Platforms:
This category gives everyone the freedom to make their NFT with whatever they choose. As a result, you can use a photo, a movie, or an audio clip to create your own. It also permits you to charge whatever royalty percentage you want for each token sale.
in this kind of NFT marketplace, there are frequently too many imitators and fraudsters, which poses a concern.
Out of the various examples of self-service platforms available, we’ll be recommending OpenSea and Rarible as they’re the one of best options and very accessible.
Creating an NFT, of course, necessitates coding experience. However, by using Rarible and OpeanSea, anyone can create NFT art without any developer experience.
After creating an NFT using the suggested marketplace, the user will have access to it through their MetaMask wallet and will be able to hold or sell it.
Step 5: Minting your NFT
Here are the basic steps you have to follow to successfully mint your NFT:
- Create a digital file of your NFT art and make sure the file format is supported by your preferred marketplace.
- Register on the marketplace, link your wallet and select the Create option.
- Upload your file.
- Describe your NFT; give a name/title and description, and add properties and unlockable content (if available).
- Set up an auction: You’ll have to decide how you’d like to sell your NFT art. There are three choices available here. ‘Fixed price’ allows you to specify a price and sell it to someone immediately (similar to eBay’s ‘Buy it now). Using the ‘Unlimited Auction’ option, individuals will be able to place bids until you accept one. Finally, a ‘timed auction’ is an auction that occurs just for a limited time.
- Finally, click Create, or the similar button on your platform, and you’re done; it’s that simple!
Step 6: Listing your NFT for sale
The next step after successfully creating and minting an NFT is to list them off for sale. You can either offer a fixed price or set up an auction.
Regardless, you’ll have to pay a gas fee if it’s your first time creating and listing an NFT.
Step 6: Promoting your NFT
So, you’ve created an NFT and successfully listed it on your preferred marketplace. What now? Waiting for someone to notice your valuable token isn’t going to get you very far. You’ll have to advertise the piece yourself, perhaps to a pre-existing community of people who are interested in your work.
In conclusion
The NFT market is still in its infancy, and there are numerous opportunities for growth. Getting in early will offer you an advantage over other artists in the long run, and this article has provided an overview of how you can start. So, what are you waiting for? Get on your path to becoming a millionaire!
Do keep in mind that this piece is of educational purpose and all investment/financial opinions expressed by smbillion.com are not recommendations. Endeavor to make your research before making any kind of investment.

